· 2 min read
Step-by-Step Guide: How to Create and Manage Multiple Templates in Orso
Orso makes it super easy to add multiple templates, that can cater to different type of audience.

Step-by-Step Guide: How to Create and Manage Multiple Templates in Orso
Hello everyone! Today, we’re diving into an in-depth guide on creating and managing multiple templates in Orso. Whether you’re a beginner or an advanced user, this feature can significantly streamline your messaging workflow.
Refer to the video Tutorial or read the content
Table of Contents
- Access the Extension
- Write Your Message
- Save as Template
- Manage Templates
- Change the Default Country Code
- Using Templates
- Sending Messages
- Conclusion
Step 1: Access the Extension
First, click on the Orso extension icon in your browser to open the user interface. 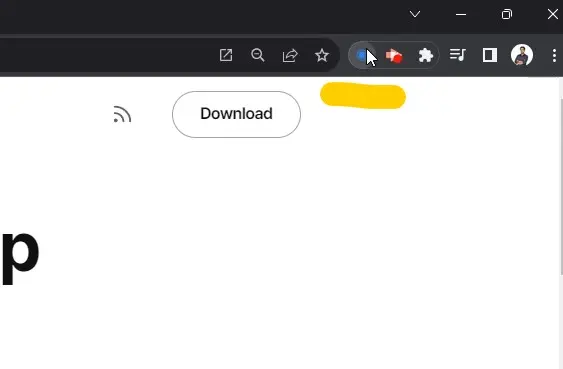
Step 2: Write Your Message
Once you’re in, compose the message you wish to save as a template. This is the foundation of your future automated messages. 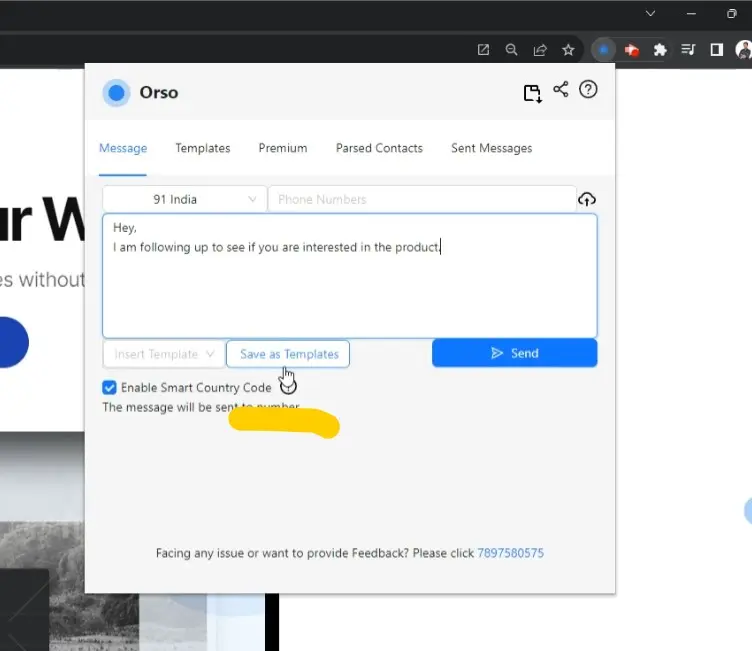
Step 3: Save as Template
After crafting your message, look for the “Save as Template” option. Click it, and a dialog box will prompt you to name your new template. 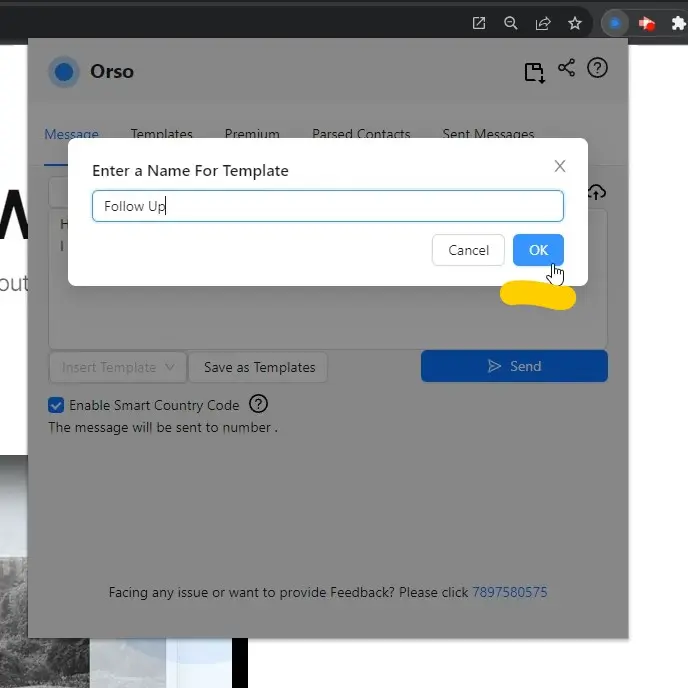
Step 4: Manage Templates
Your template is now saved! You can manage or delete your templates as needed, giving you full control over your messaging. 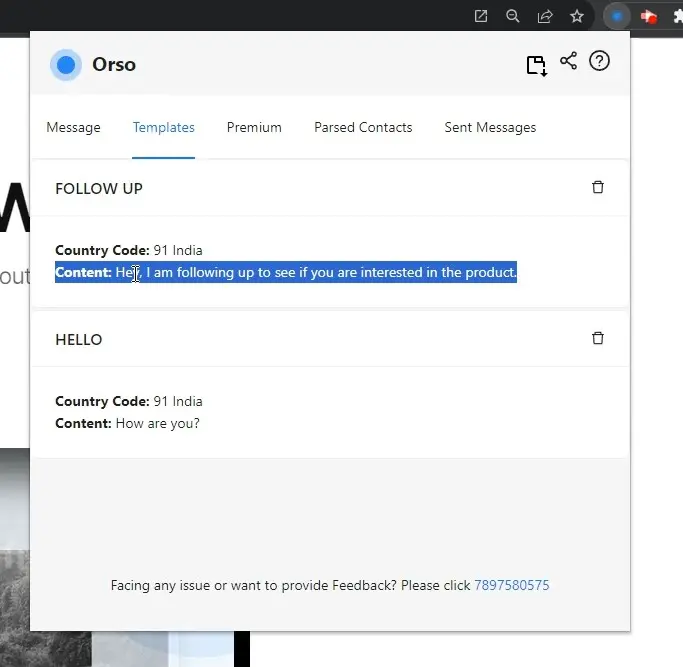
Step 5: Change the Default Country Code
The default country code is India, but you can switch it to any other country like Hungary. This flexibility allows for more personalized messaging. Choose the country from the dropdown box.
Step 6: Using Templates
Once saved, your template is ready for use. You can even set it as your default template, automating your future messages. 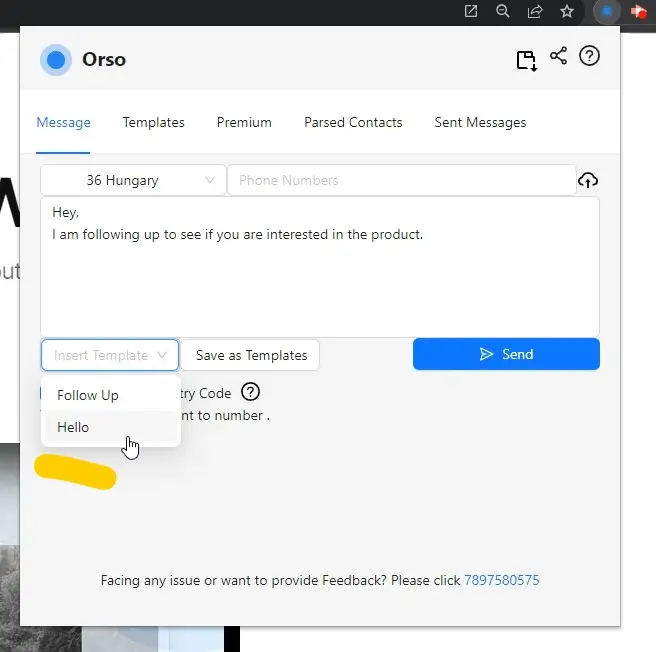
Step 7: Sending Messages
For instance, if “Hello” is your default template, your country code and message text will automatically align with the settings in that template.
Conclusion
There you have it—a complete guide to creating and managing templates in Orso. Implementing these steps can save you time and make your messaging more efficient.
If you found this guide helpful, please share it and leave a comment below!